Group Design Project
During my fourth year of my MEng degree, I had a four month group project to complete. Our groups assigned supervisor was Geoff Merrett and my team consistent of Gavin Fish, Foivos Gaitantzis, Leonardo Moreira and Adel Hedayat, and I was assigned the project manager role. We worked with the UEKSF and more specifically, their CEO, Stewart Edmondson to conceptiualise, design, and implement an application within 4 months between October 2020 until Janurary 2021.
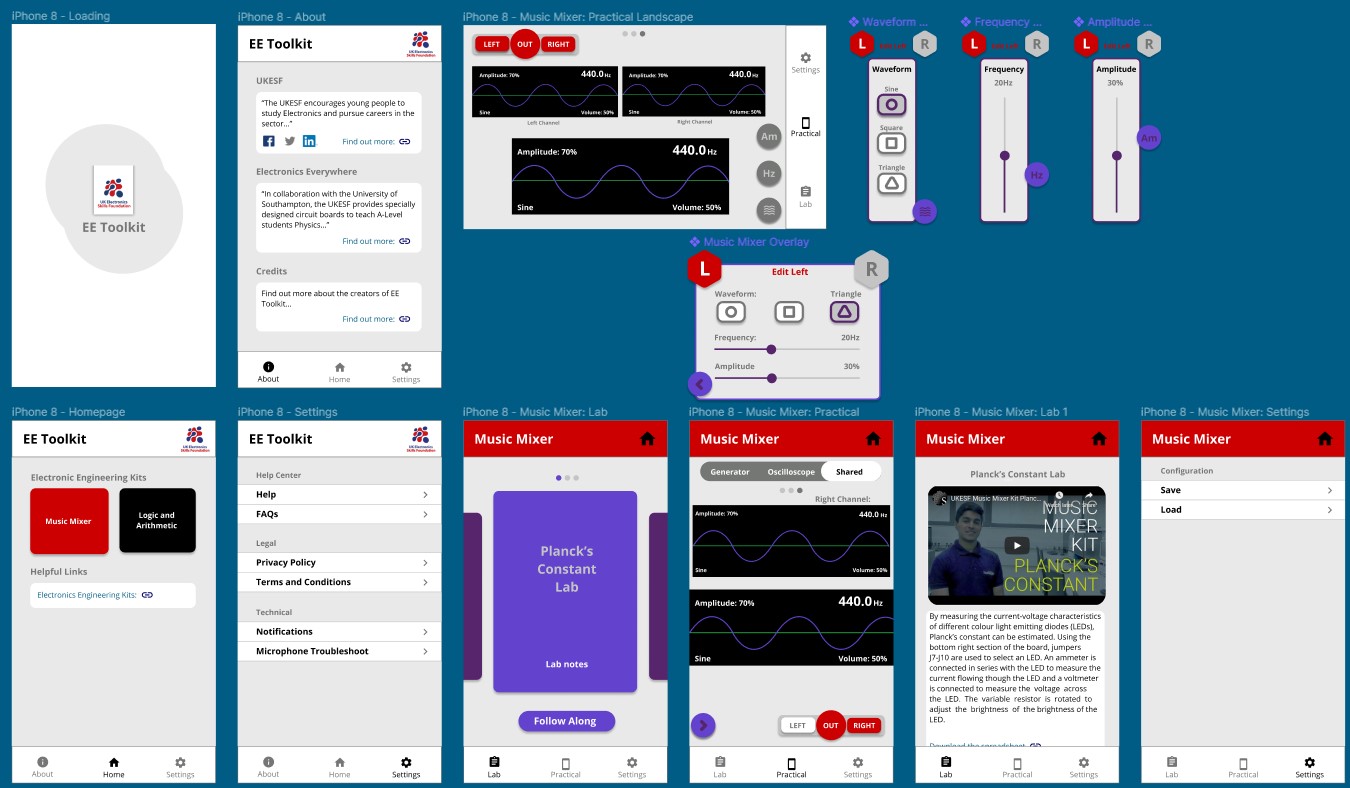
Original Mock-up of Design
The goal of the project was to work alongside the UKESF and Southampton's Electronics Everywhere kits, in order to enhance the experience that students could get when using the boards to learn. The main goal was to give more of a visual indication of physical processes occuring on the board. As electronics as a field is difficult to see the actual effect, the application's main goal was to work as an oscilloscope and signal generator, allowing for students to explore concepts such as superposition and interferance, as well as being able to visualise sound waves, how they travel through circuits and the setup of potential dividers.
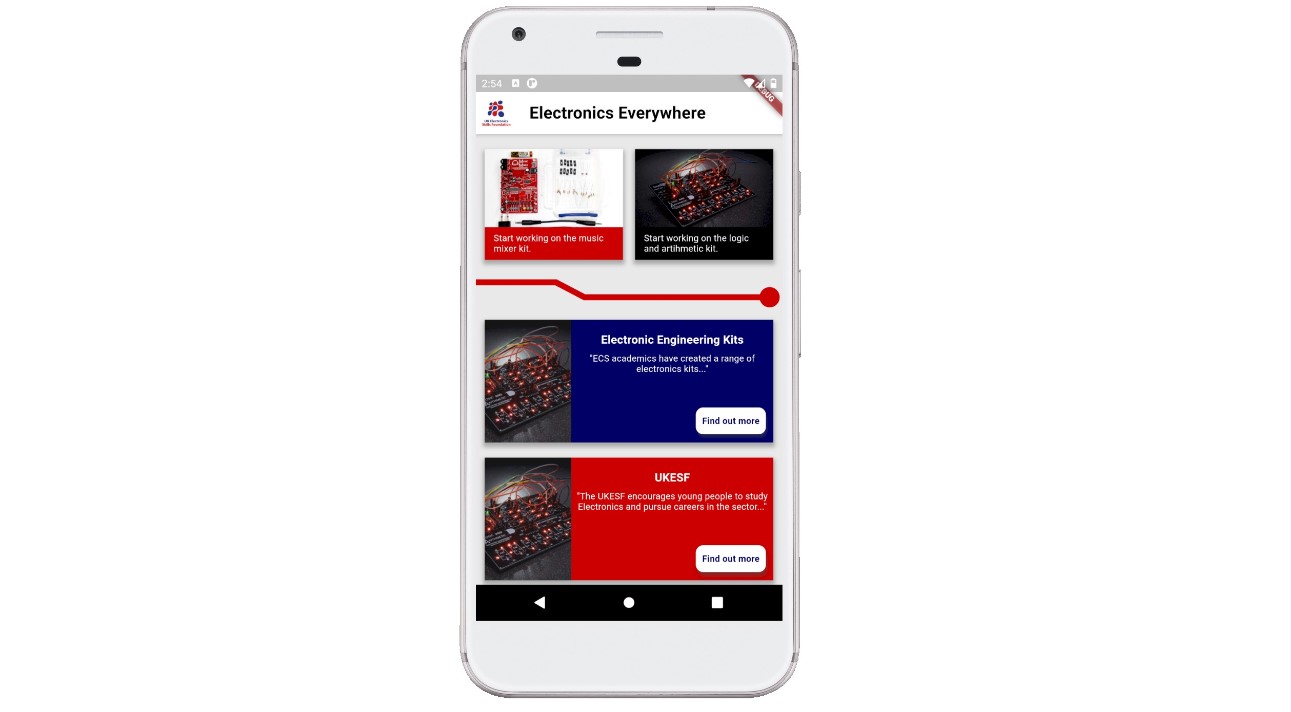
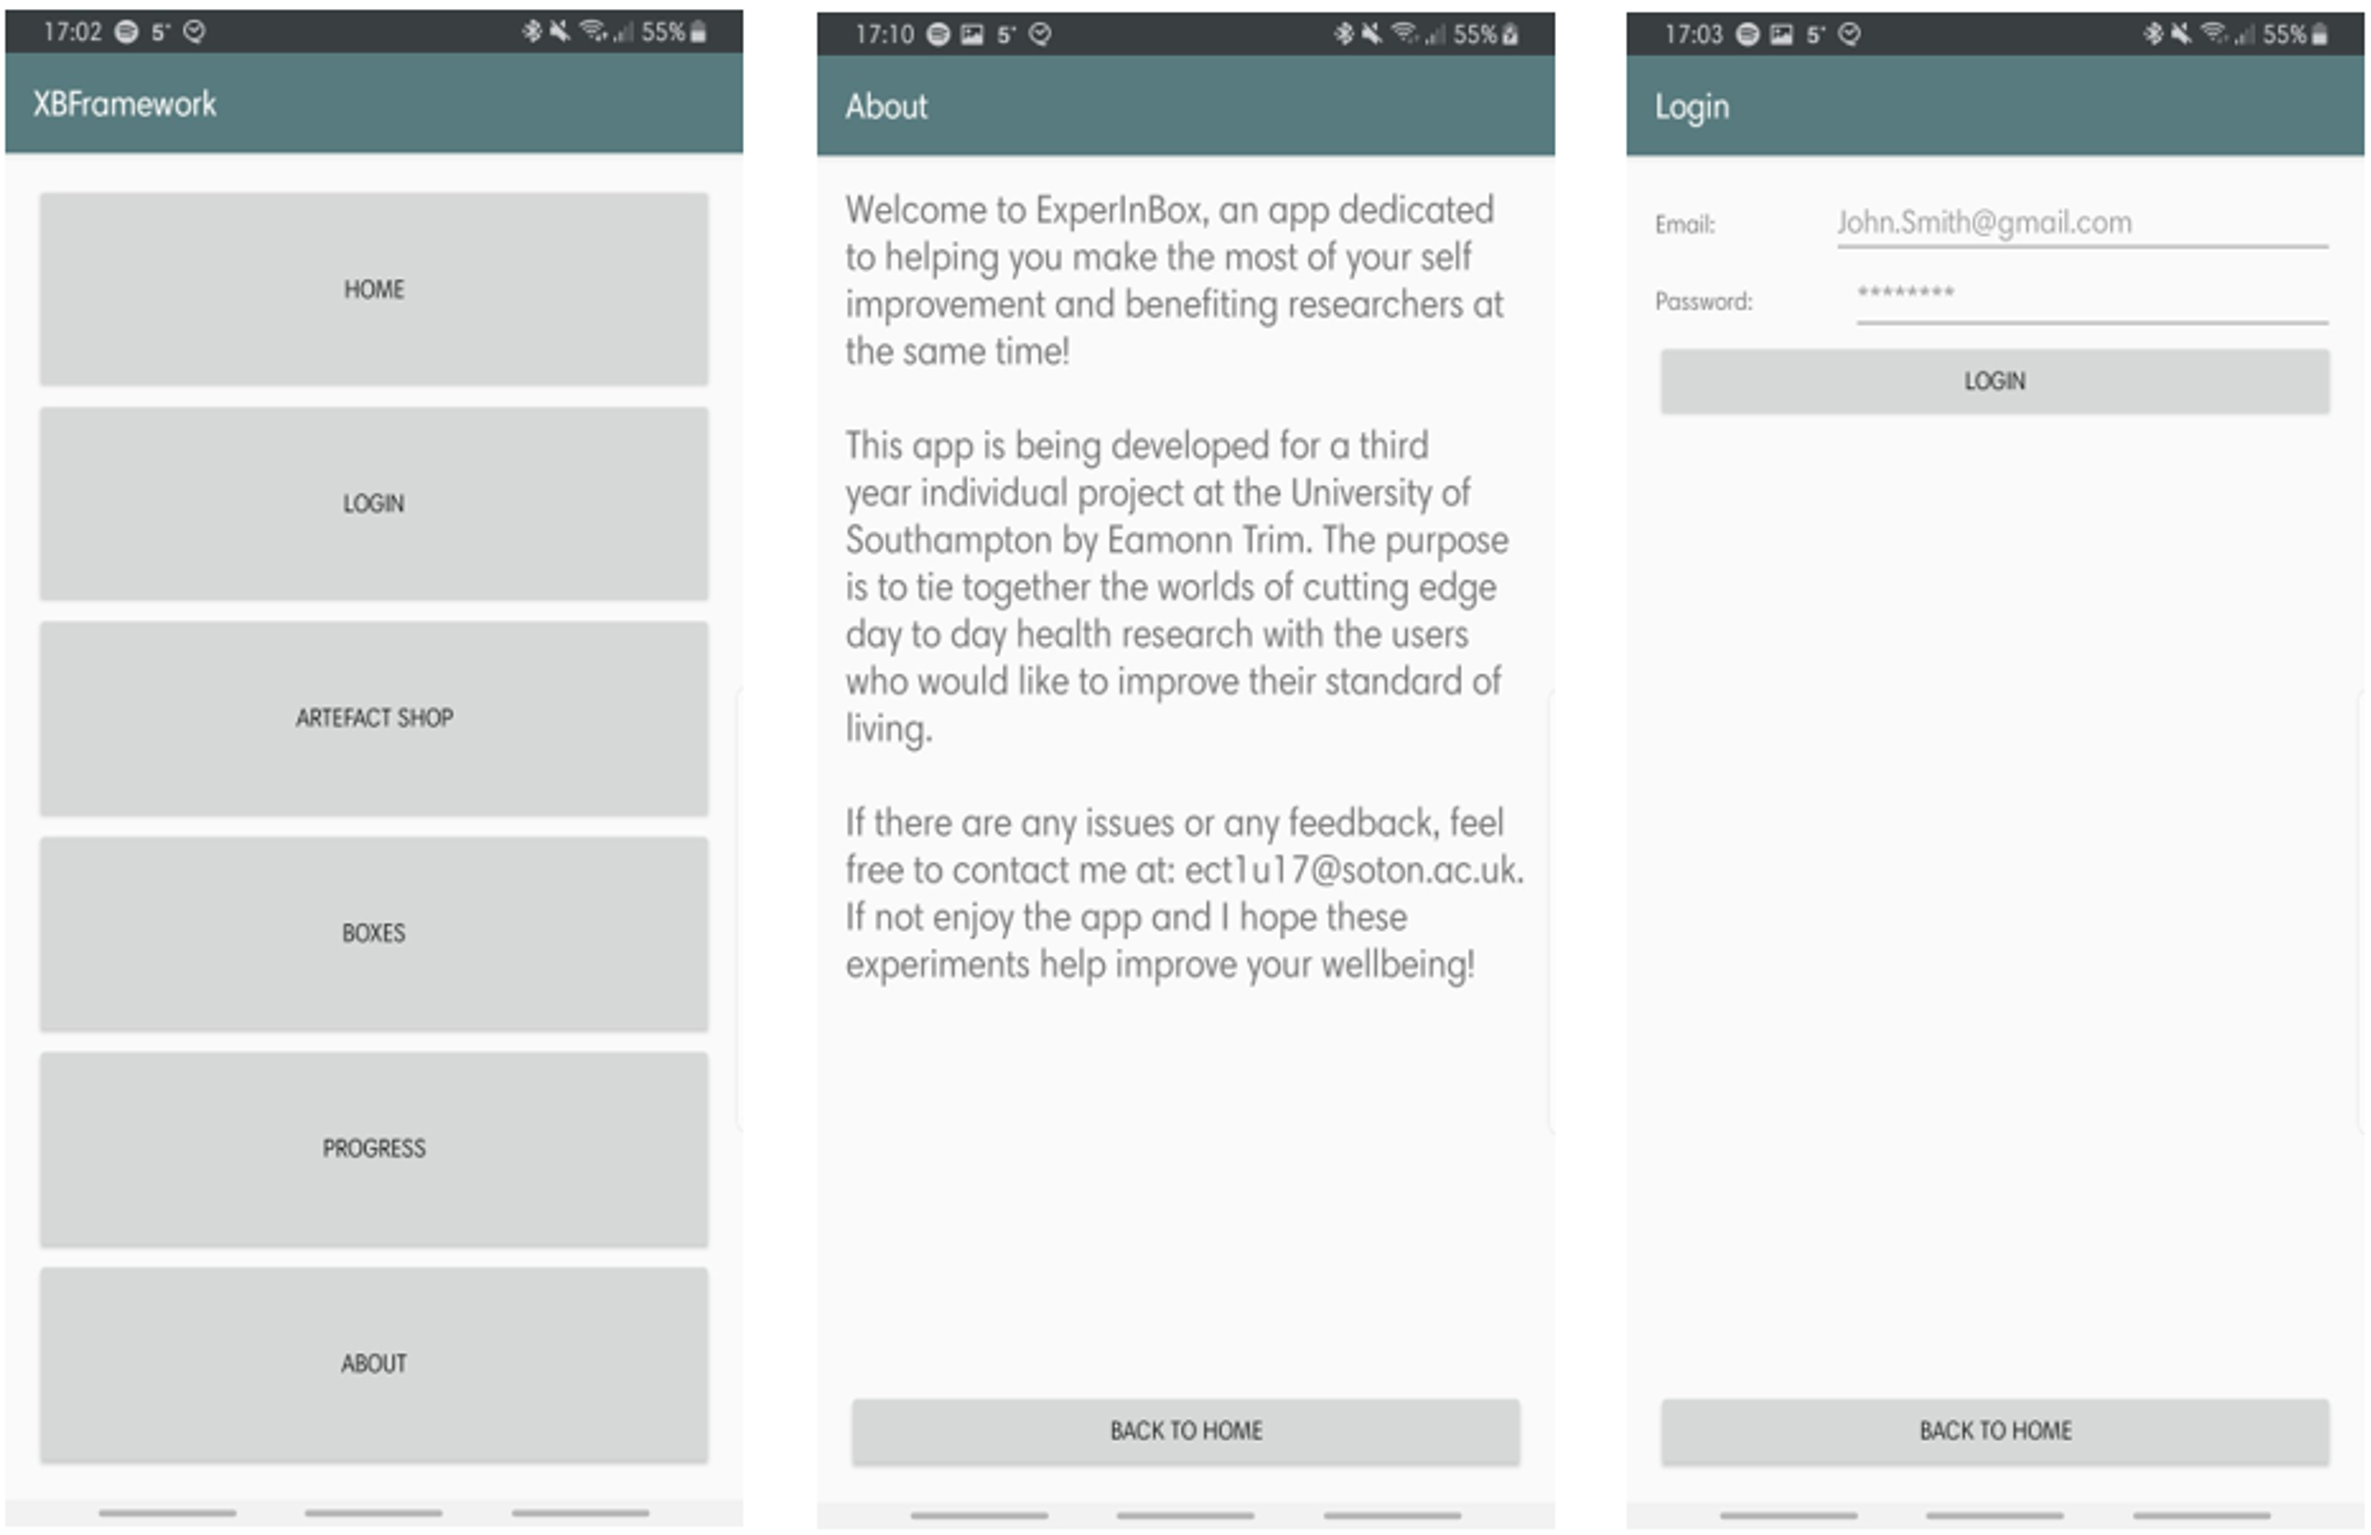
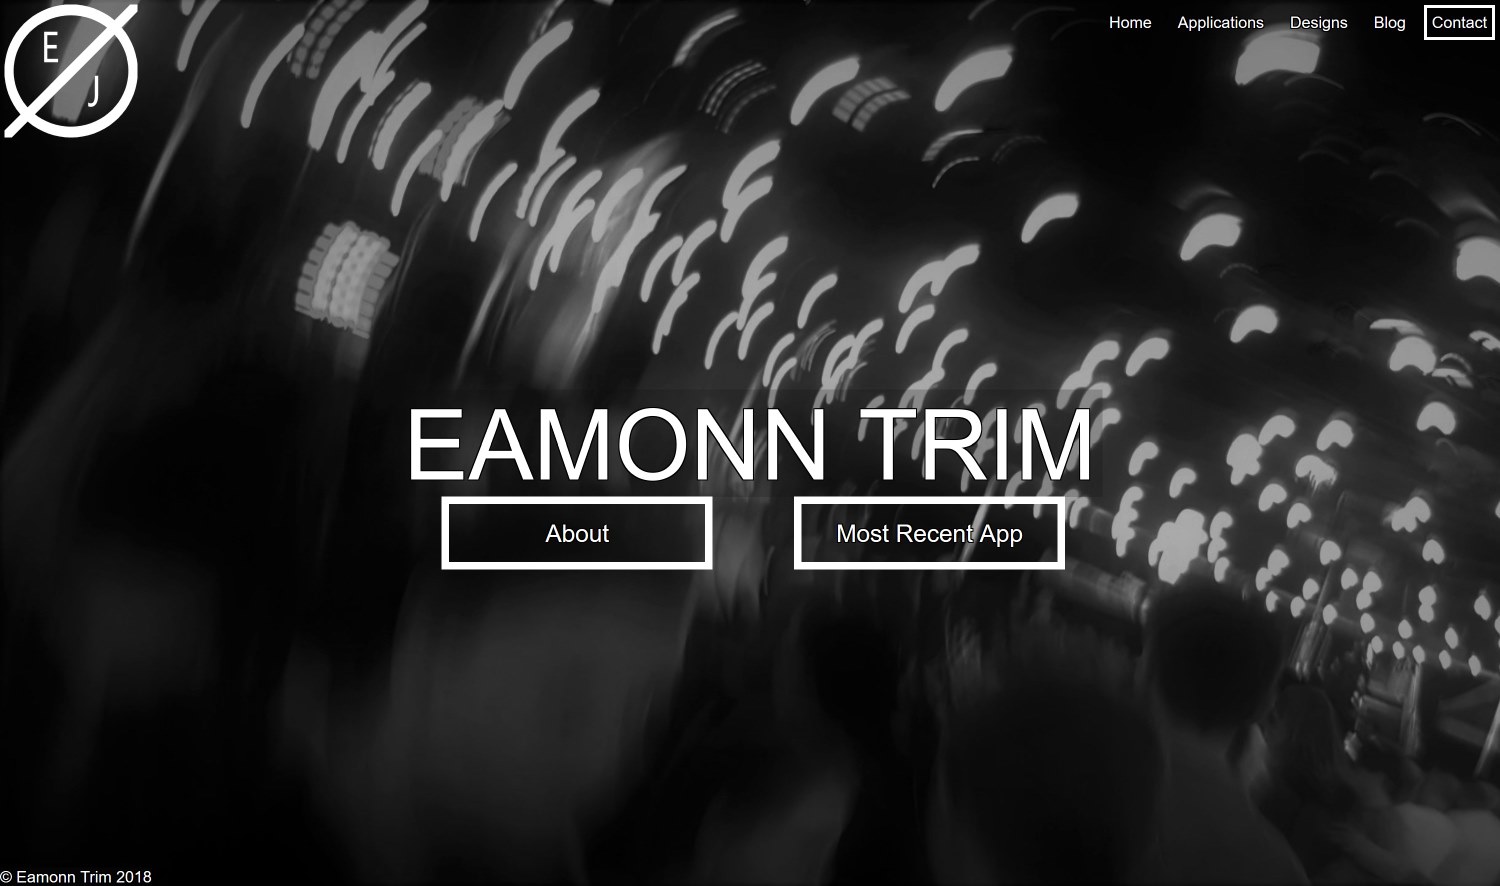
Home Page
The home screen was the landing page for the application, and needed to be branded for the UKESF, with links to more information about the project, as well as direct access to other areas of the app designed for interfacing with both the Music Mixer but also the Logic and Arithmetic Boards.

About page
The about page was styled for both the different boards individually. It contained simple introductory information about the boards and their intended uses, as well as a link to the interactive page, which included a walkthrough of the board. The pages used the strong UKESF branding, as well as more specific branding relating to the boards themselves. This page also contained a navigation bar at the bottom to link to both the exercises pages and the practical page (for the Music Mixer kit). In the top right, there is also a link to the settings page.
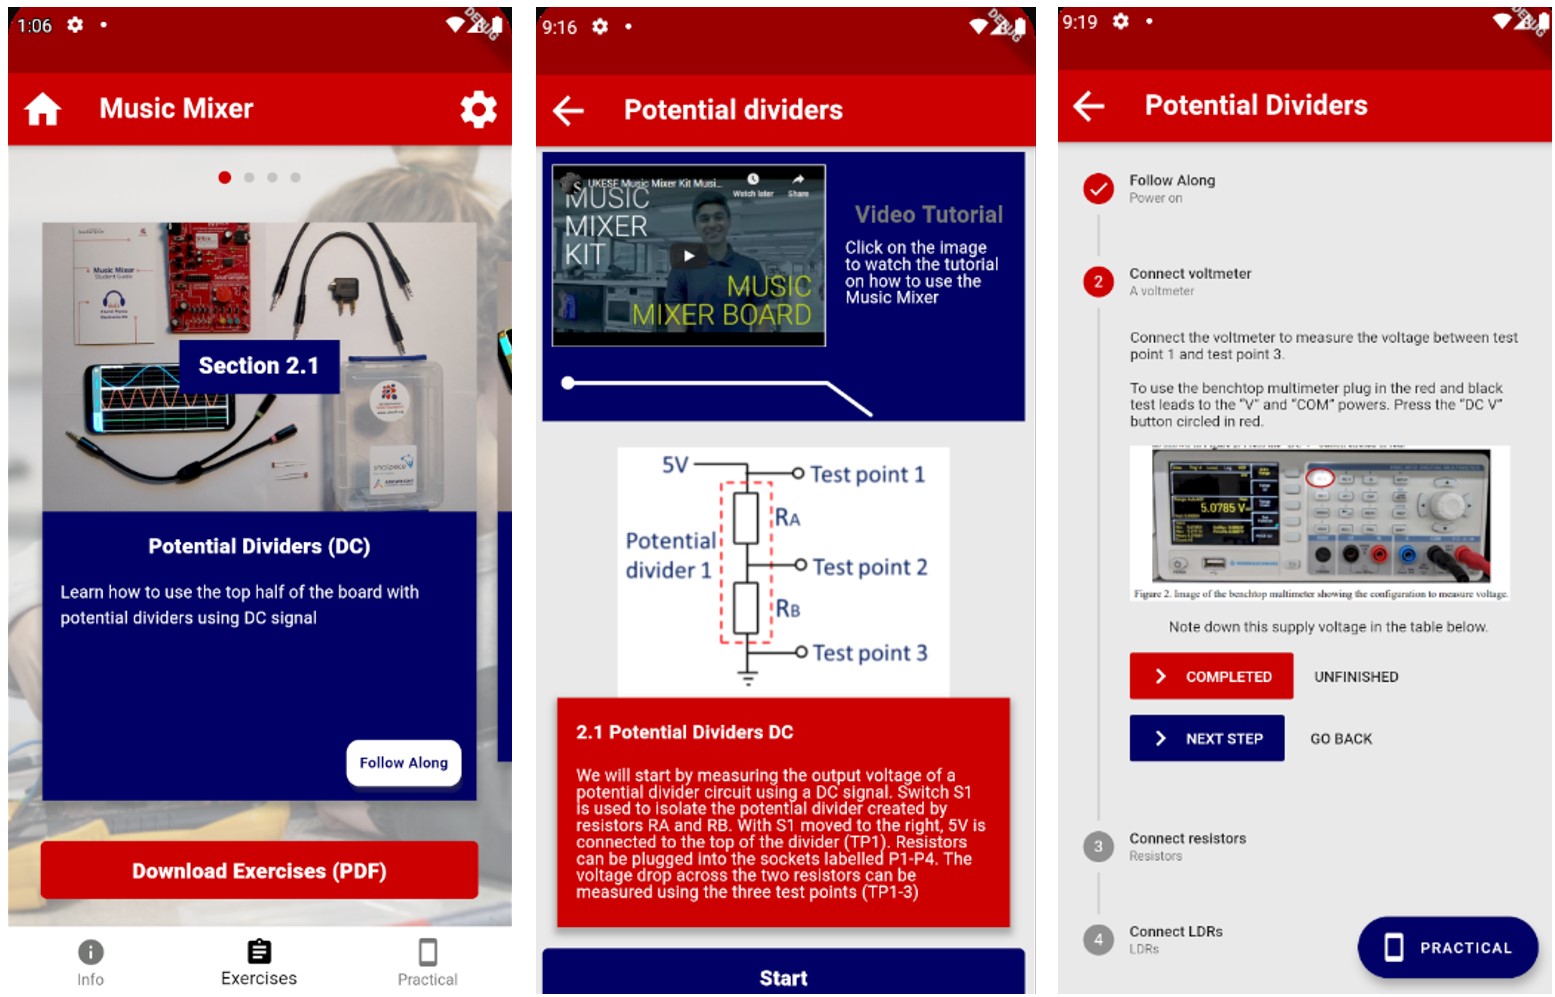
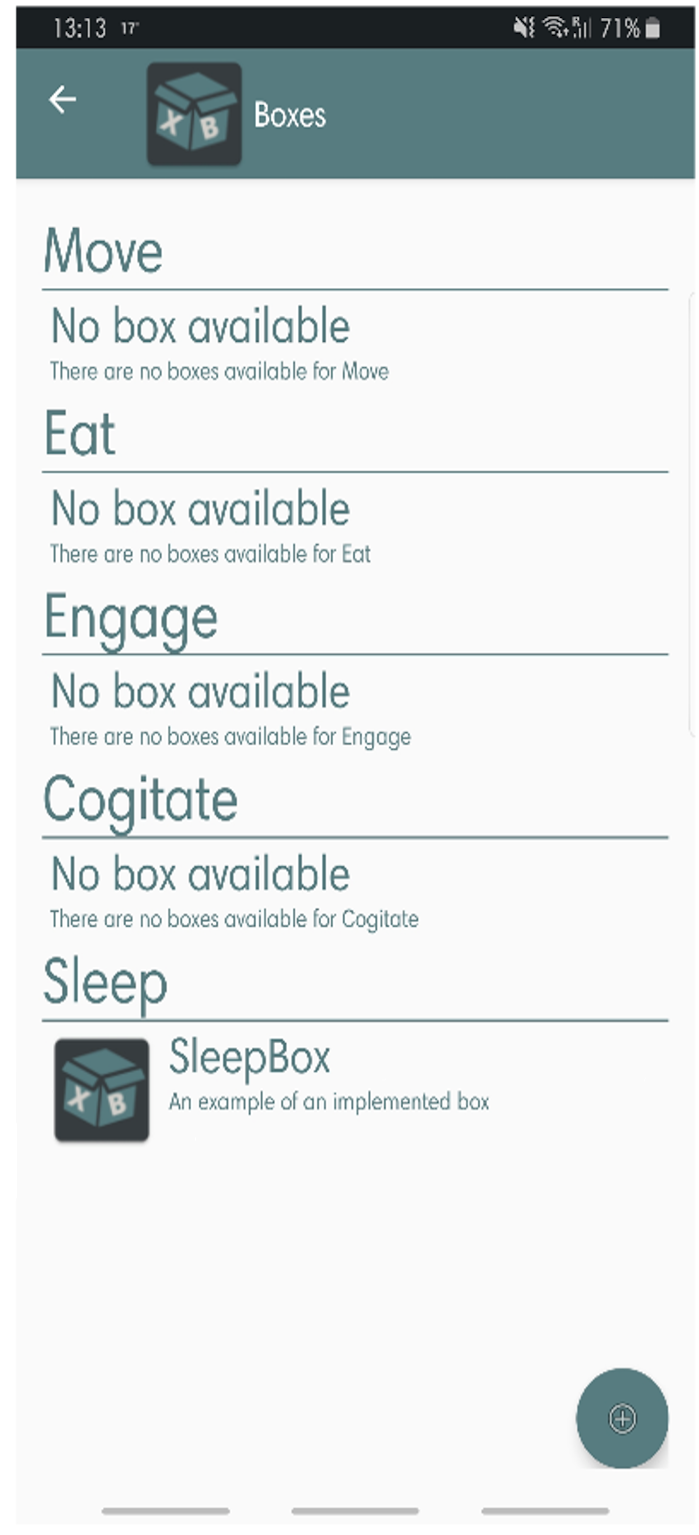
Exercises Page
The exercises page contained a list of all the experiments already design by the University in collaboration with the UKESF, with interactive videos and interactive instructions to follow through from within the application. Previously, the instructions were simply on a PDF where students would be following through a print out. This change in medium would hopefully increase interactivity.
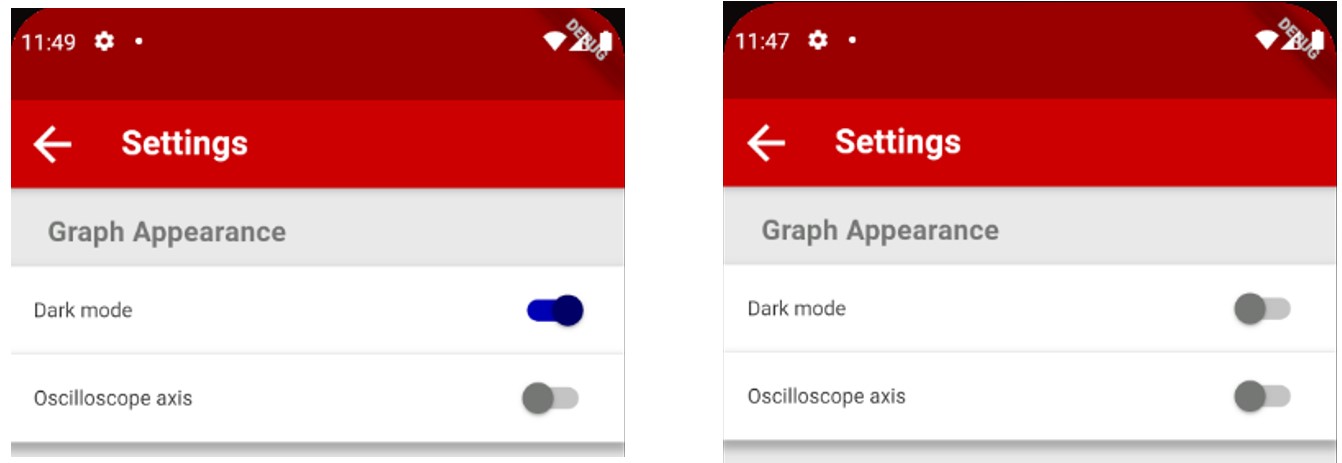
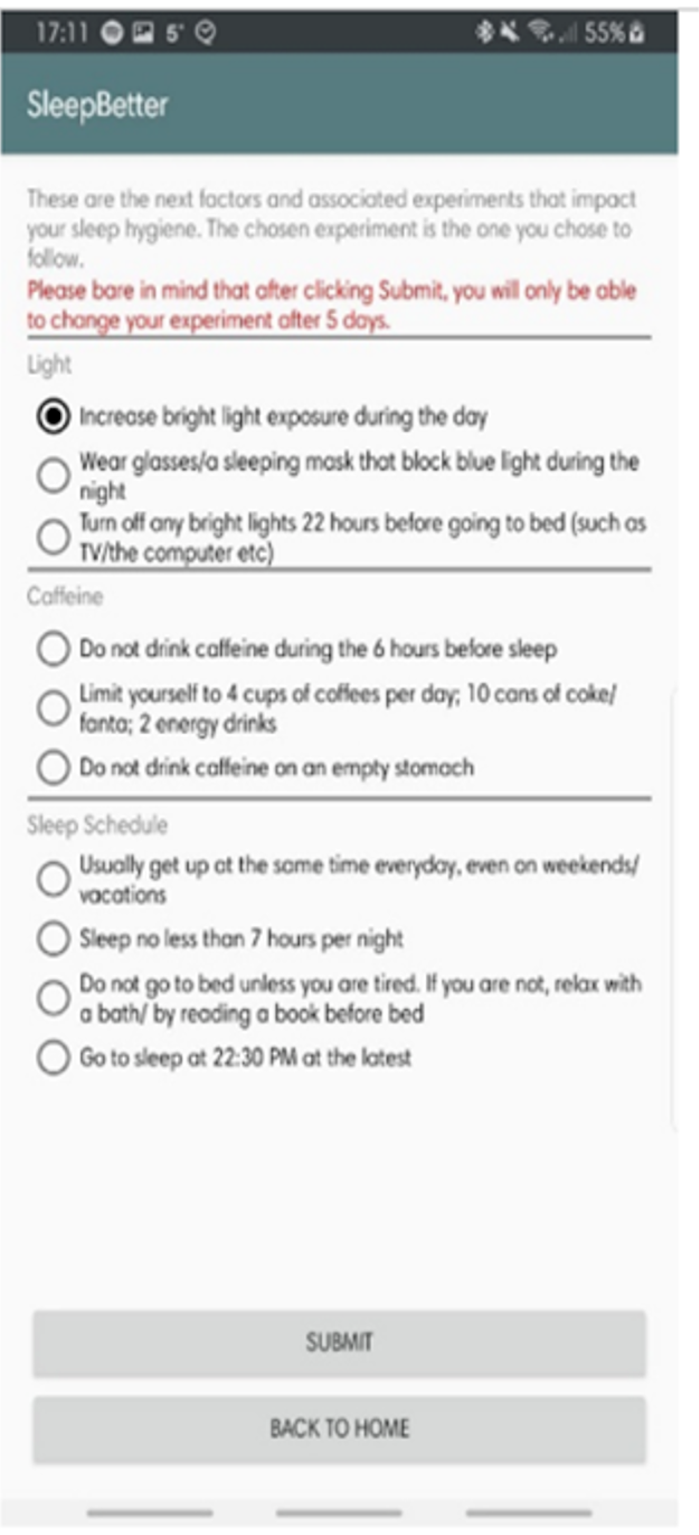
Settings Page
The settings page contained a few of the preferences that could be changed about the practical page. This included the colour mode, and also the graphing style. We understood that some students may learn in one way, and others may learn in another, and so we wanted to provide the design of the oscilloscope to be the most flexible possible, allowing for both a traditional oscilloscope display, in light or dark mode, or a more traditional A-level graph, with a standard time axis.
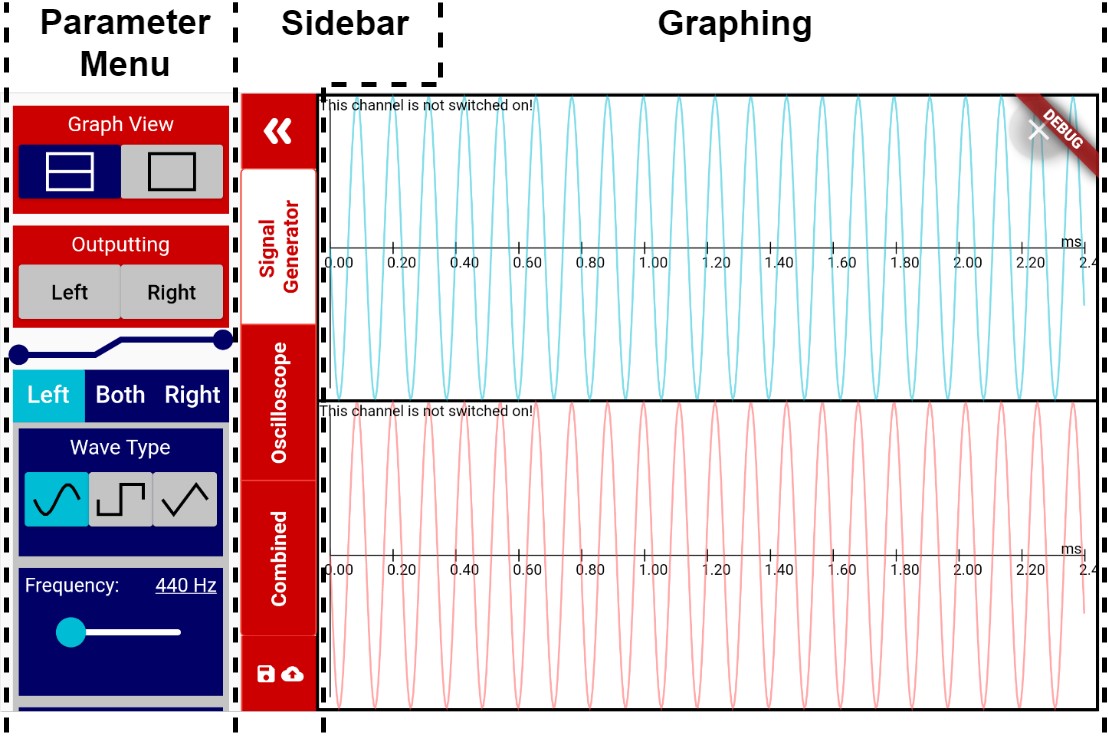
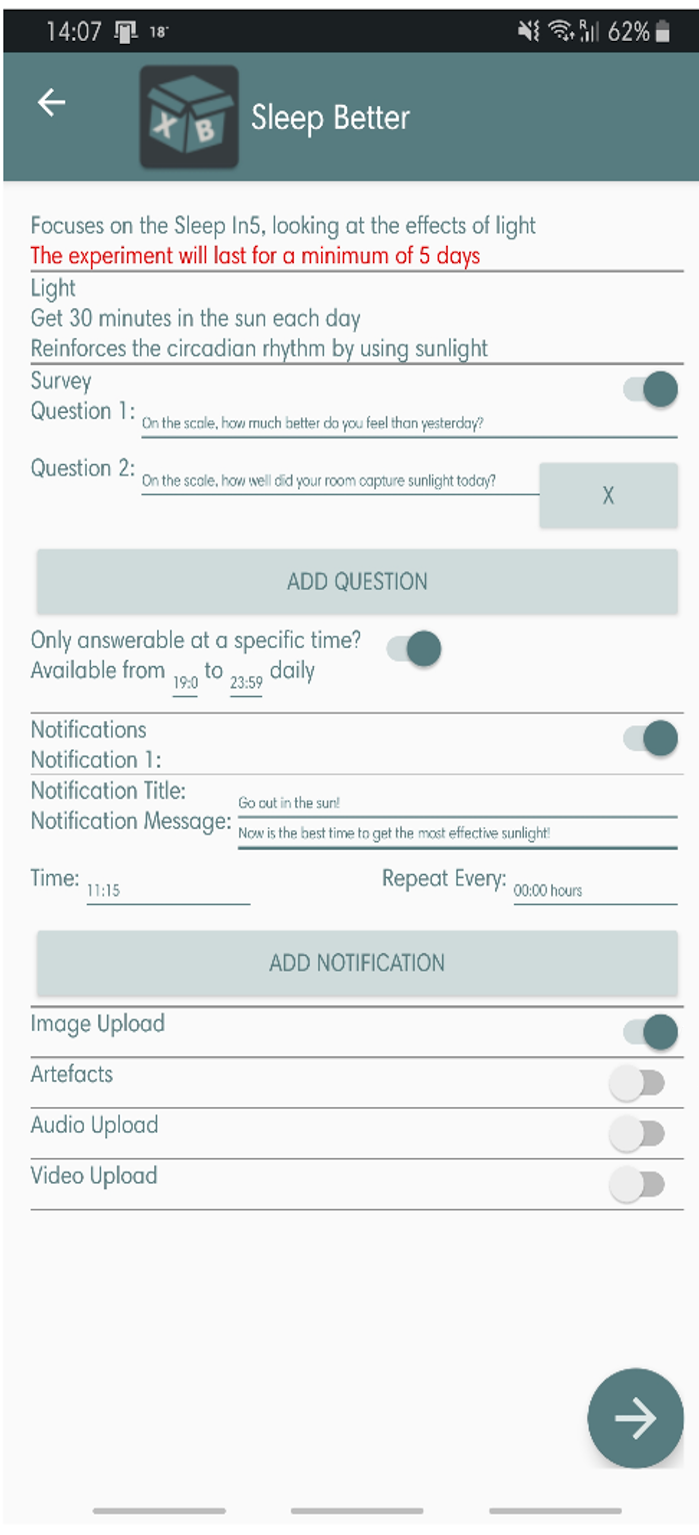
Practical Page
The practical page is where most of the project was based, this was the key implementation in getting students to be more engaged with the boards. As discussed in the settings page section, the adaptability of this page was crucial, with each student learning in a different way. As a result, the page was implemented to be able to overlay all the graphs over one another, or to display them all separately. If graphs were not in use, they could be hidden by changing the mode of operation, and this would also simplify the options available to the user to interact with. This page uses the aux port to send out signals (on the left and right channel audio individually) and also to read the microphone as a input. In conjunction with the board, and some adapters available this allows a single phone to both produce, and display the result of two independent but interfering signals.
If you would like to get more information about the application or how it works, I have uploaded the full report to my experiences page, under my university section (named Group Design Project). Feel free to go and have a look.